Vignette in Photoshop is a very popular visual effect that adds expressiveness to your photo. In this article you will learn how to draw the viewer’s attention to the topic with a vignette.
How to make a vignette in Photoshop
I can make a vignette of any shape, size, color and effect.
Let’s look!

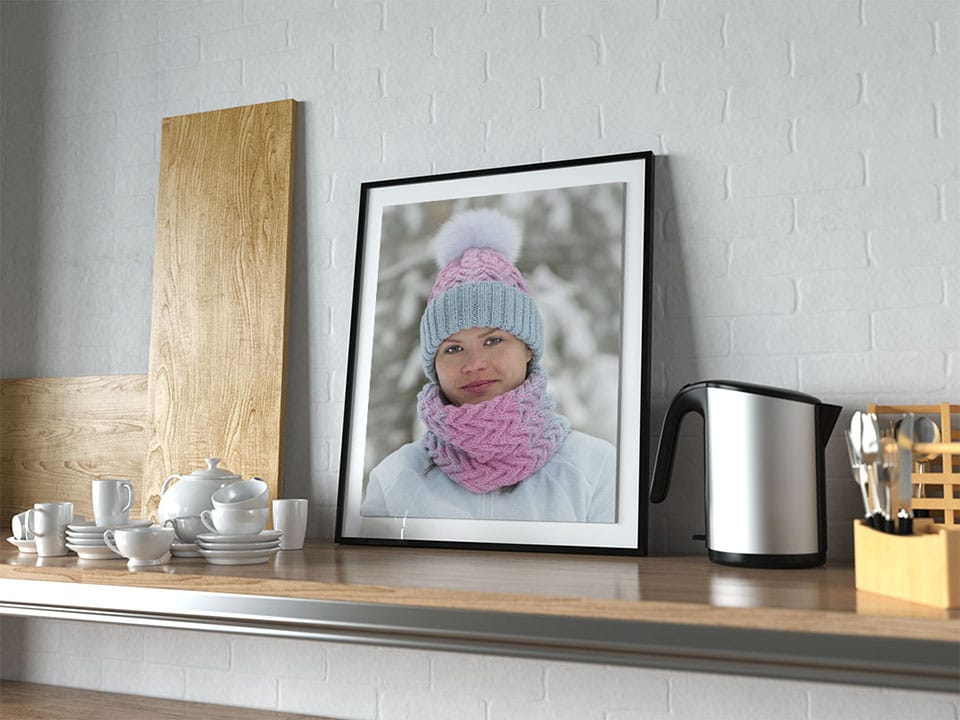
I want to focus on the face and slightly change the brightness of the background around the girl. To do that, I’ll create a colored vignette. Later I can use the Eraser tool and remove part of the vignette or leave it as is.
- Open the photo in Photoshop. You can download and use my photo or take your own photo.
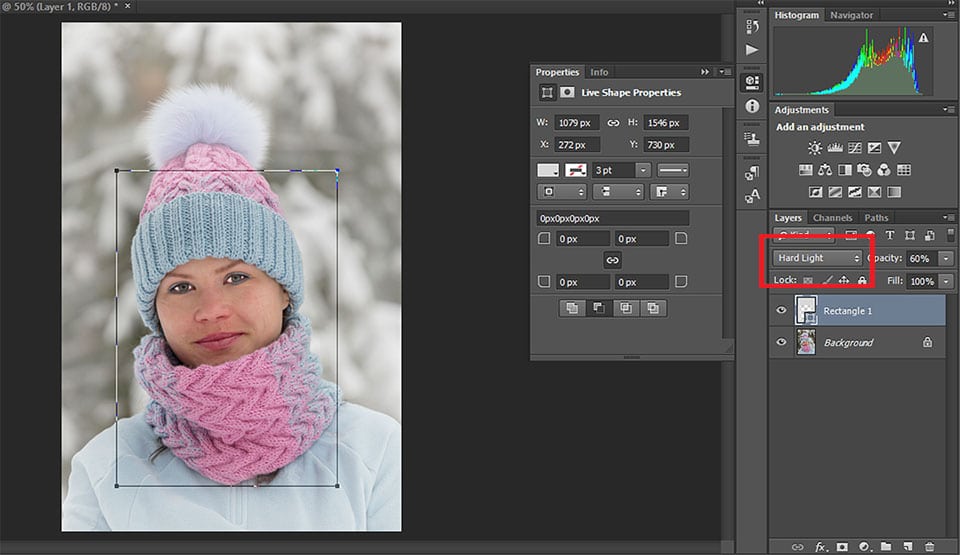
- Choose the Rectangle Tool (Rectangle Tool > Shape) and select the vignette area. Photoshop created new layer Rectangle 1 and opened Properties panel.

- In the Properties Panel, I change Subtract front shape like on the image and select Live Shape Properties.
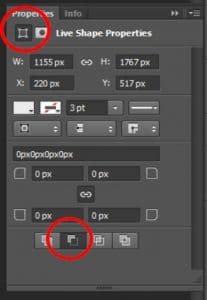
Propertias panel Then I set the fill type of the form and choose the last colors used (I choose gray-white). This set of color filters will help you change the colors in your photo beyond recognition. Select a color filter according to the scene or any other color you want. By leaving the main object unchanged, you change the color of the scene around it.
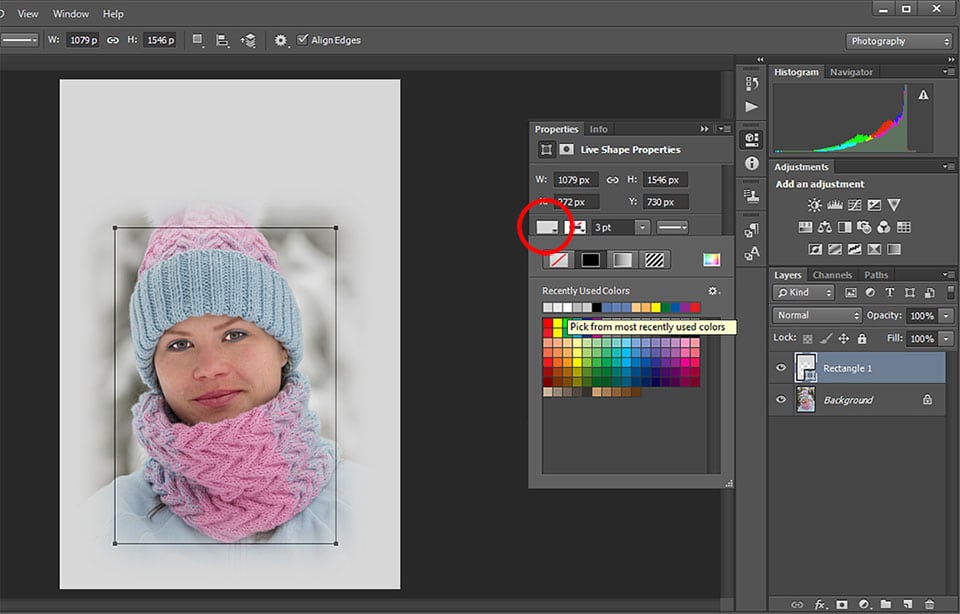
The main tool for setting vignette. Pick from most recently used colors. - Then, I adjust by Free Transform Tool vignette area and press Enter to save transformation.
- In the Properties Panel select Mask and adjust the Feather setting. I like 129 px.
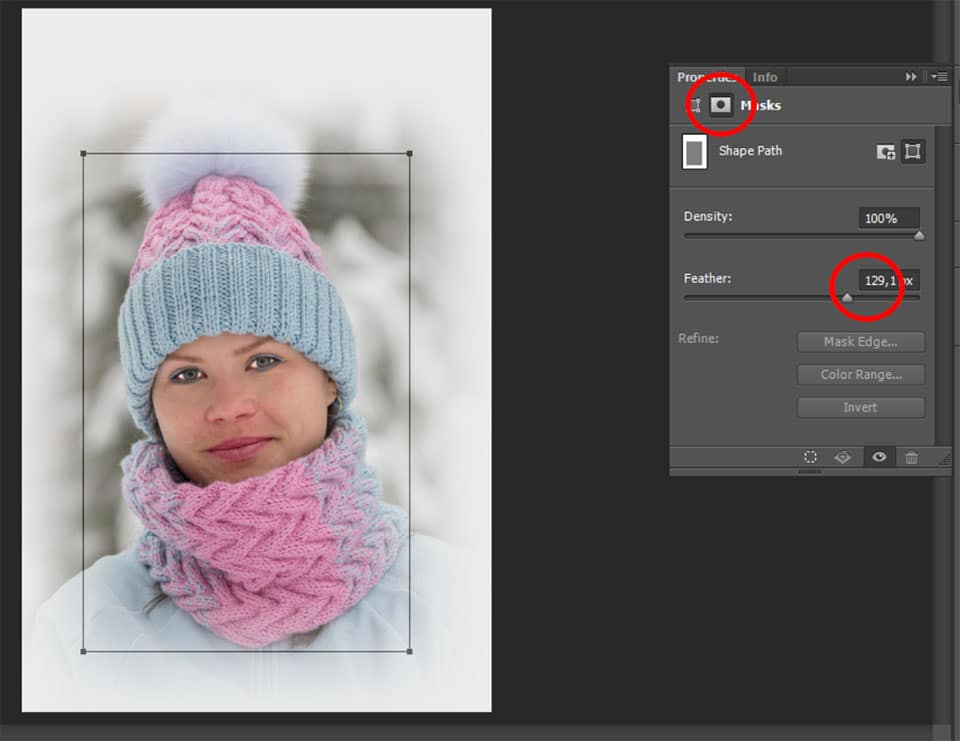
Vignette in Photoshop. Feather tool. Blur the vignette. - Set blending mode for the layer. I choose Hard Light. You can pick Soft Light, Multiply and etc.
Set blending mode for the layer. My pick Hard Light layer mode. - Merge Layers.


Summary
This was one example of the creative use of vignettes in Photoshop. You can fantasize and create new colors and moods for your photos.
Would you like to learn how to fix White Balance in Photoshop in a few clicks?
This is an interesting post for getting information,i read this post that was very nice and useful for people. thank you so much for sharing