What is Autumn for photographers?
Fall is the perfect time to pick up a camera for Fall photography, for those who haven’t done so yet.
It’s also a great opportunity for aspiring photographers to try their hand at it – it may be the only time when they are forgiving of so many mistakes, allowing them to take emotional shots and providing plenty of opportunity for experimentation.
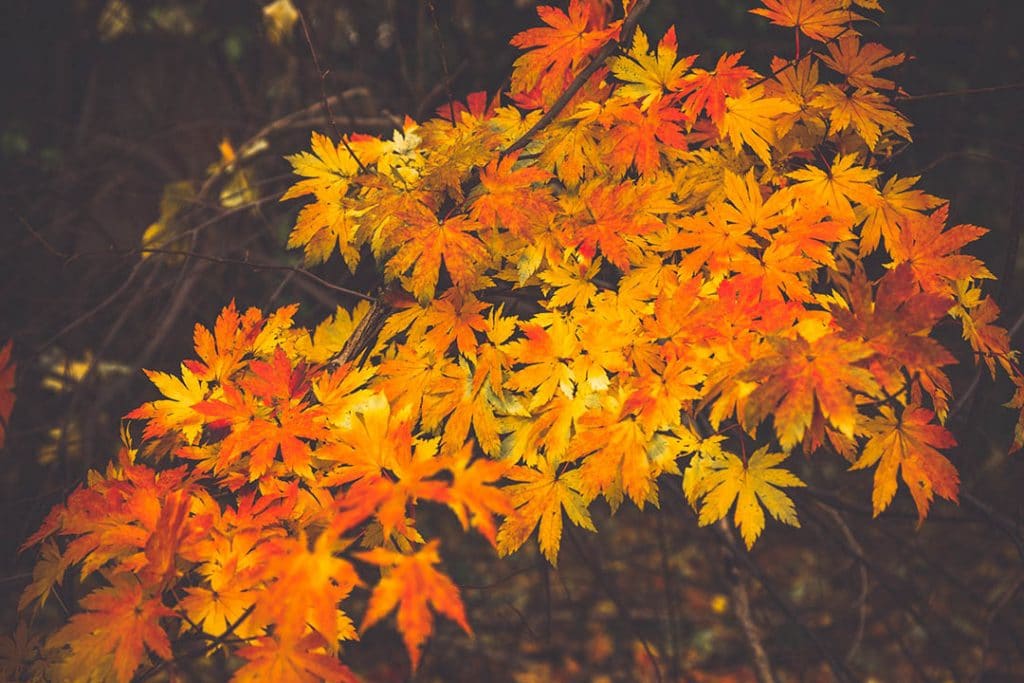
The first thing you start thinking about is the beautiful colorful foliage and the extraordinary beauty of the evening light.
But it’s also the fickle weather that allows you to catch the entire spectrum of moods, from mildly joyful to brooding, dramatic and perhaps tragic.
I’m a big fan of this time of year.
Autumn photography for landscape photographers is divided into several states. In almost any field it is a com
Autumn photography is:
- Sunny, clear weather flooding the foliage with bright colors;
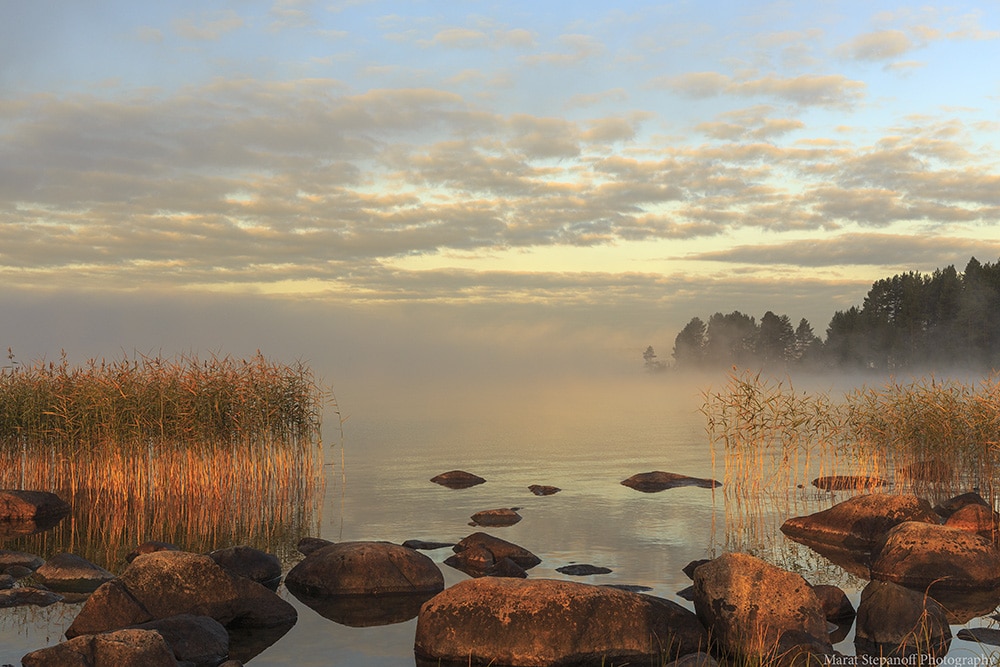
- Fog covering everything around it;
- A heavy or lingering drizzle;
- Wind chasing embossed clouds across the sky.
- And all of these states have their positives.
A sunny day is the easiest for beginning photographers. If you’re taking your first steps in photography, this is the state to catch.
Is it foggy outside the window? No problem, let’s go catch some mystical subjects.
Windy weather and gloomy skies?
Try shooting landscapes with a wide-angle lens and emphasize the drama of the sky. Perhaps the only problem arises with the last view, gray. It is characterized by low brightness, low contrast and gray color.
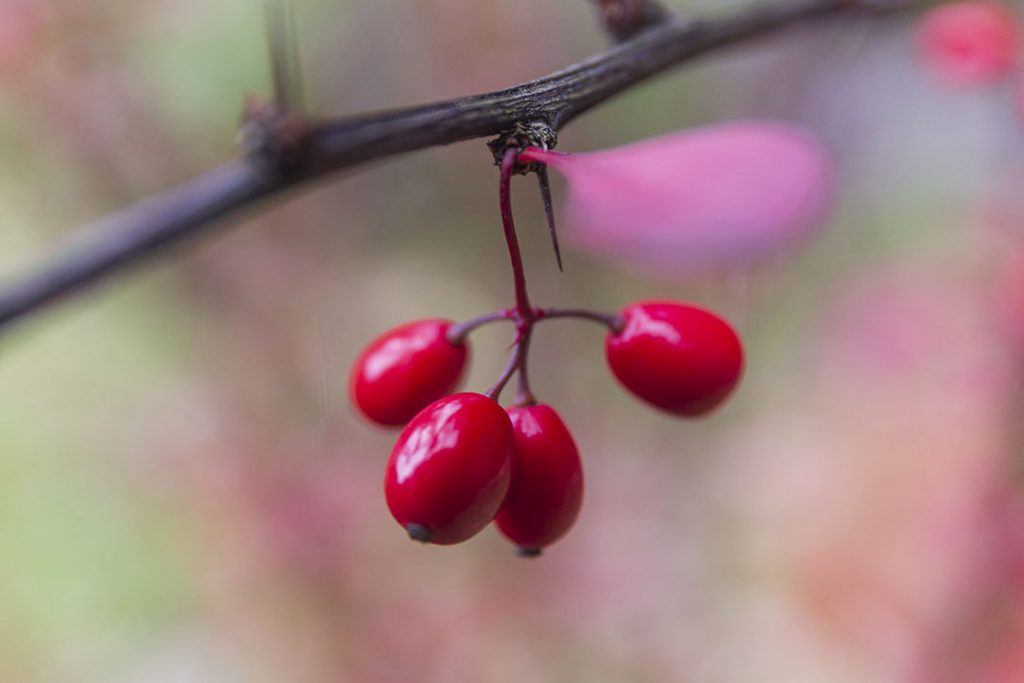
There are a lot of times like this. Look for an outstanding colored object.
I won’t hide it, I’m not a big fan of gray in the aspect of photography. But the paradox of the situation is that outstanding photos are most often taken in cloudy weather.
During my passion for photography, I have conducted many experiments.
In this article, I want to take a consistent look at the things you can try that will most likely lead you to the results you expect.
It will also help you understand the process of landscape photography and give you confidence in your abilities.
Autumn Photography
In autumn, you can get good pictures in almost any weather.
Any weather is good for Autumn Photography
It changes frequently, which opens up the opportunity to shoot in different styles and locations, getting a wide range of moods in your images.
Your fingers are bound to get cold in the fall. To keep you warm, I chose Vallerret professional photography gloves.
Capture the change of the Seasons
So there is a period of early autumn, which in our latitudes I consider to be a continuation of summer.
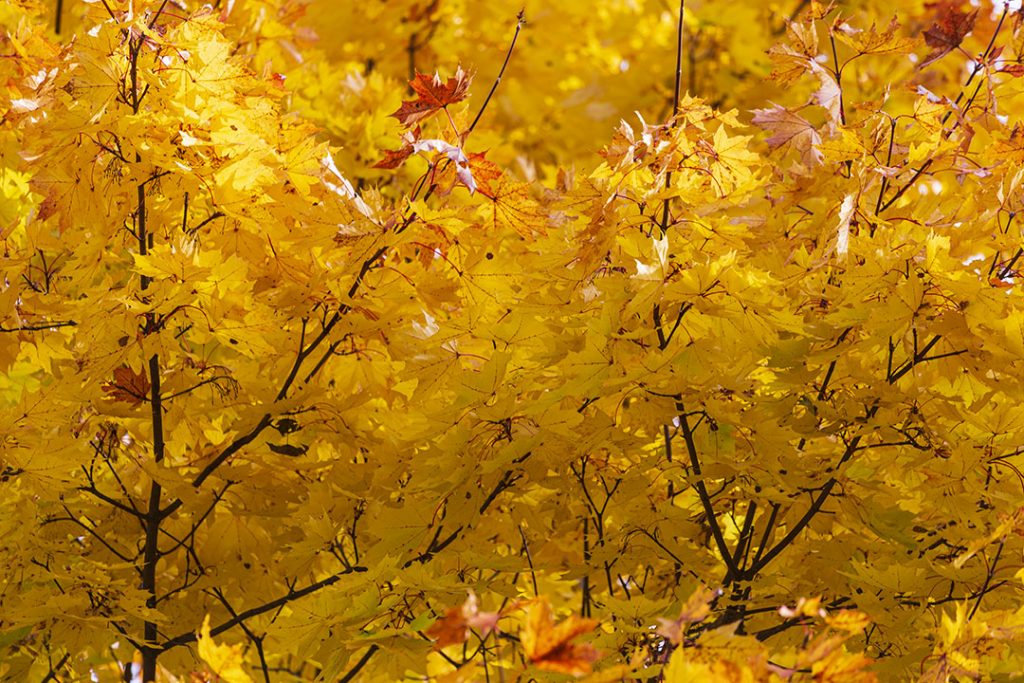
As a rule, it’s still warm enough, but the leaves start to change their color to a cheerful yellow-orange, with lots of sunny days.
But there is more rain than in summer, and occasionally the sky is covered by clouds. This makes photographs more dramatic. The weather becomes more volatile, and this is great for us landscape photographers!
I would like to point out that it is advisable to identify in advance the places you want to take pictures and think about the weather they will look good in. On the day of shooting, choose one such place from the conditional list and go there to shoot.
The next period is fog, rainy weather, and grey.
All this is no reason not to shoot. Scroll through your list of places and imagine where you can get atmospheric shots.
For example, it could be a wet pavement, passers-by hurrying to escape the rain, trees, and individual branches in the mist.
Searching for places to shoot
The question that many people have – where do they shoot? You go out of the house – and there’s nothing particularly beautiful about it. Such reasoning is not uncommon, and part of it is true. But you can find a way out almost everywhere.
One more time! It is desirable that you have a list of places to go and that can look good in the current weather.
Where to go
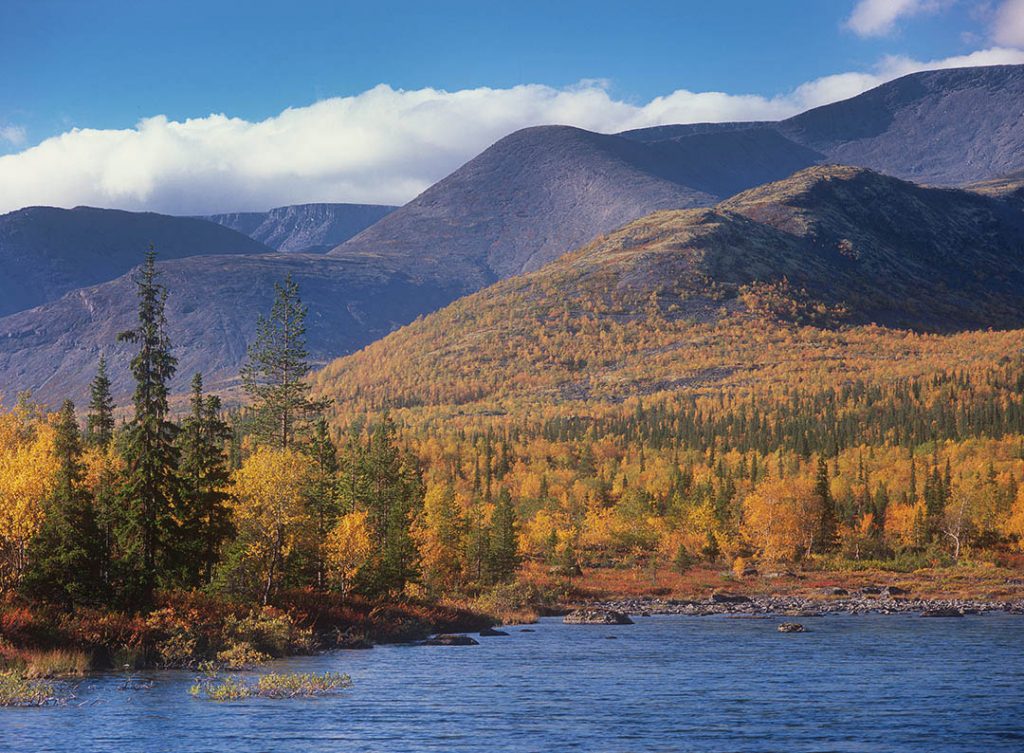
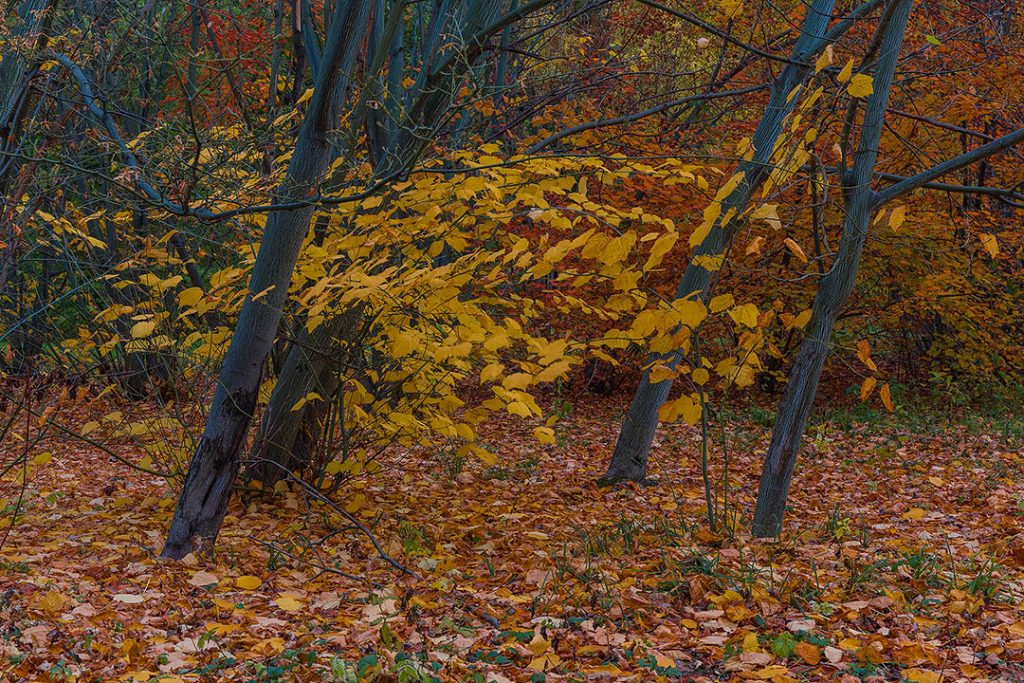
Autumn is a change in nature, and it’s worth taking pictures of it in the first place. Parks, parks, squares, water bodies, rivers, forests, mountains, and fields – all this fits perfectly.
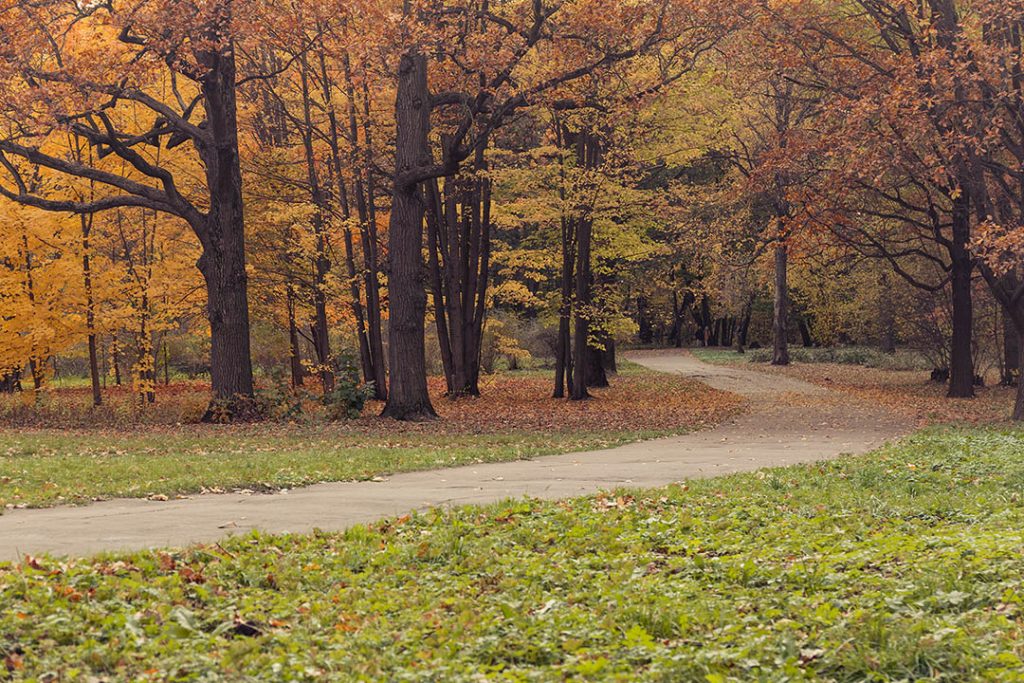
There is no need to disregard the city; it is a great place to shoot. I prefer a center where you can shoot interesting architecture, quays, parks, and reflections. A separate story in the city is the evening light on the pavement and street buildings.
Look at the direction of the light towards architecture, glass, and reflective surfaces in office buildings and shopping centers. In the grey foggy period of autumn, pay attention to the granite surface in parks and public gardens – if there is lighting nearby, you may get an atmospheric shot.
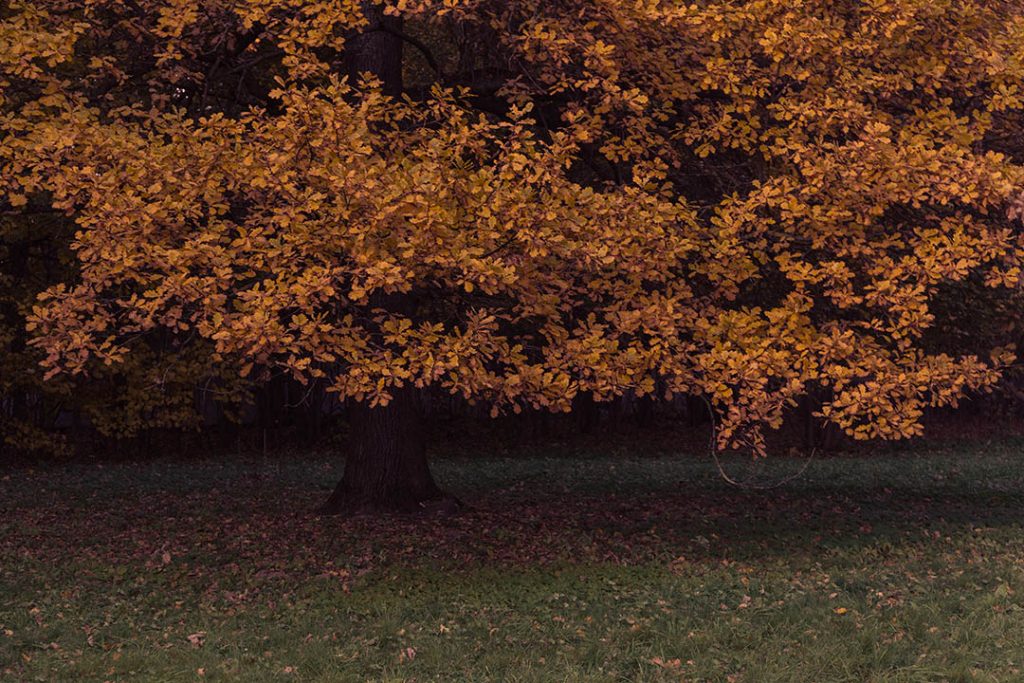
Go to the Woods In Autumn
Choose a place where there are many deciduous trees. Coniferous forests or the absence of leaves will not convey the autumn mood, and the combination of different colors of deciduous trees will look attractive.
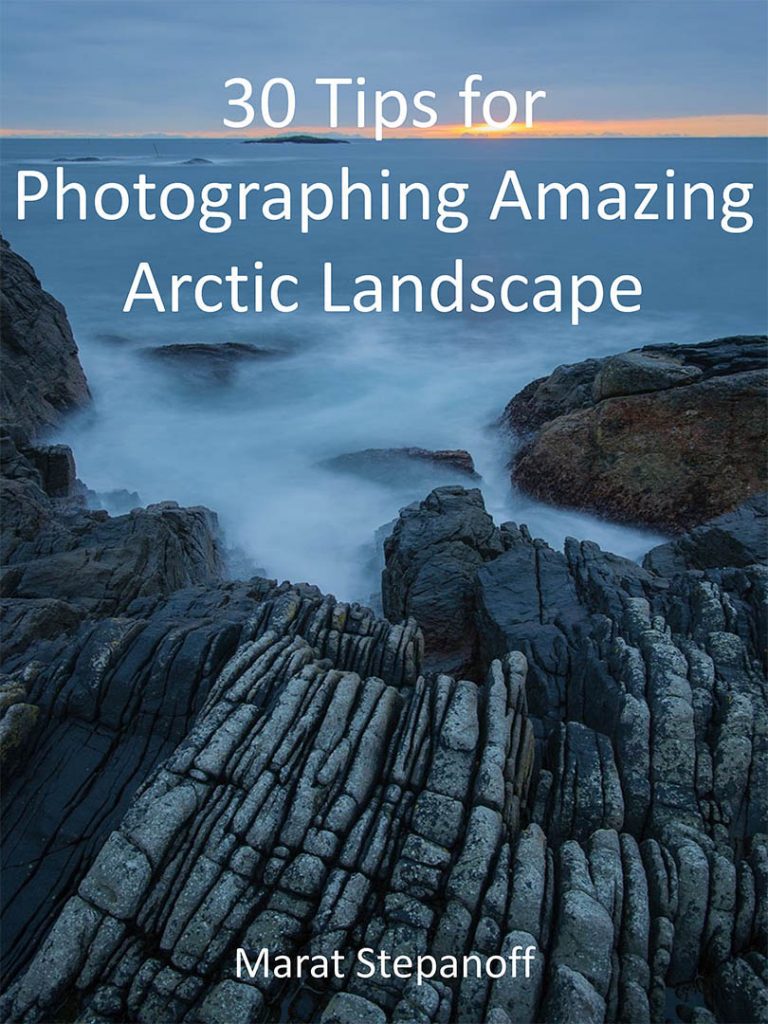
30 Tips for Photographing Amazing Arctic Landscape
This is FREE e-Book about my practical experience as a landscape photographer for traveling North.
These are 30 simple tips on how to catch a good shot in all weather conditions in places like Northern Norway, Iceland, the Faroe Islands, and any other location.
Don't forget the Coast
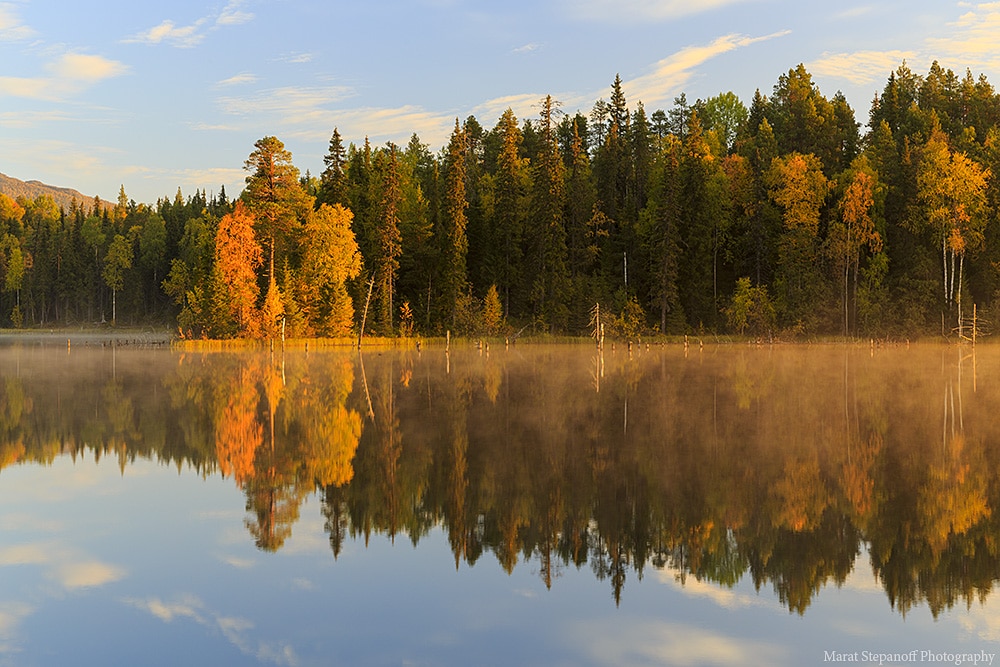
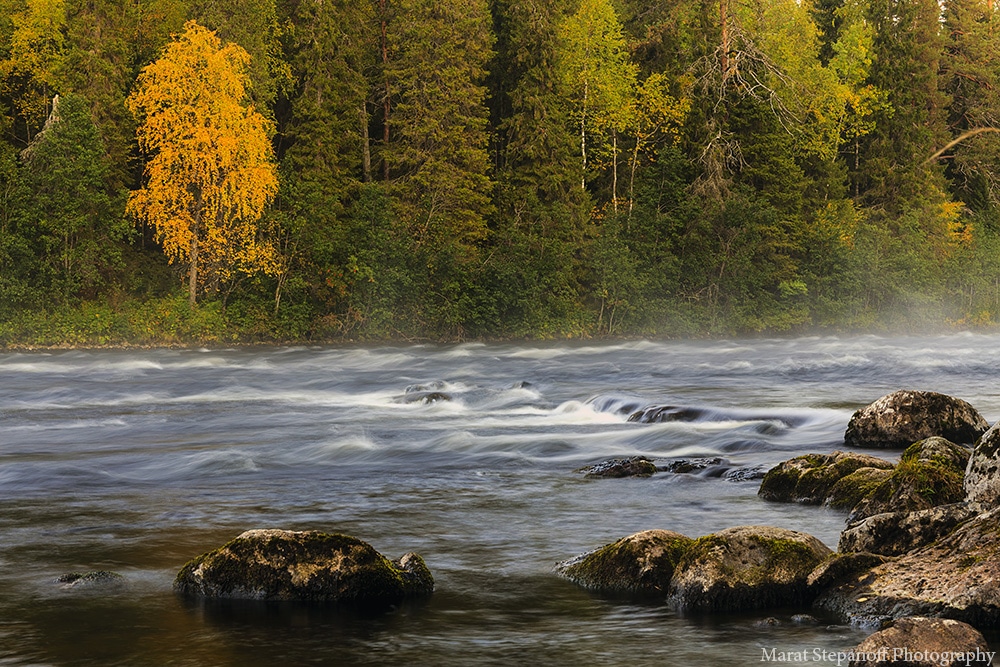
Find rivers and ponds, especially places where trees bend over water.
Include water in your composition.
The reflection of leaves in water can be a highlight of the frame. Remember that water is your ally, and even puddles may be suitable for landscape photography. Especially when it comes to the grey period – you can include reflections of buildings in puddles, for example.
When to go to shoot autumn
For any time of year, the photographers’ rule of the best time to shoot is fair. It is called the Golden and Blue Hour.
Of course, it is worth going out at dawn and dusk. And in autumn, they last much longer because of the lower trajectory of the sun, which is only good for us. The time for sunsets is much earlier.
You can, for example, take a camera with a tripod to work and walk around interesting places when you come home.
It is also easier to shoot during the day – the light is less harsh than in summer and you can get interesting shots in low light.
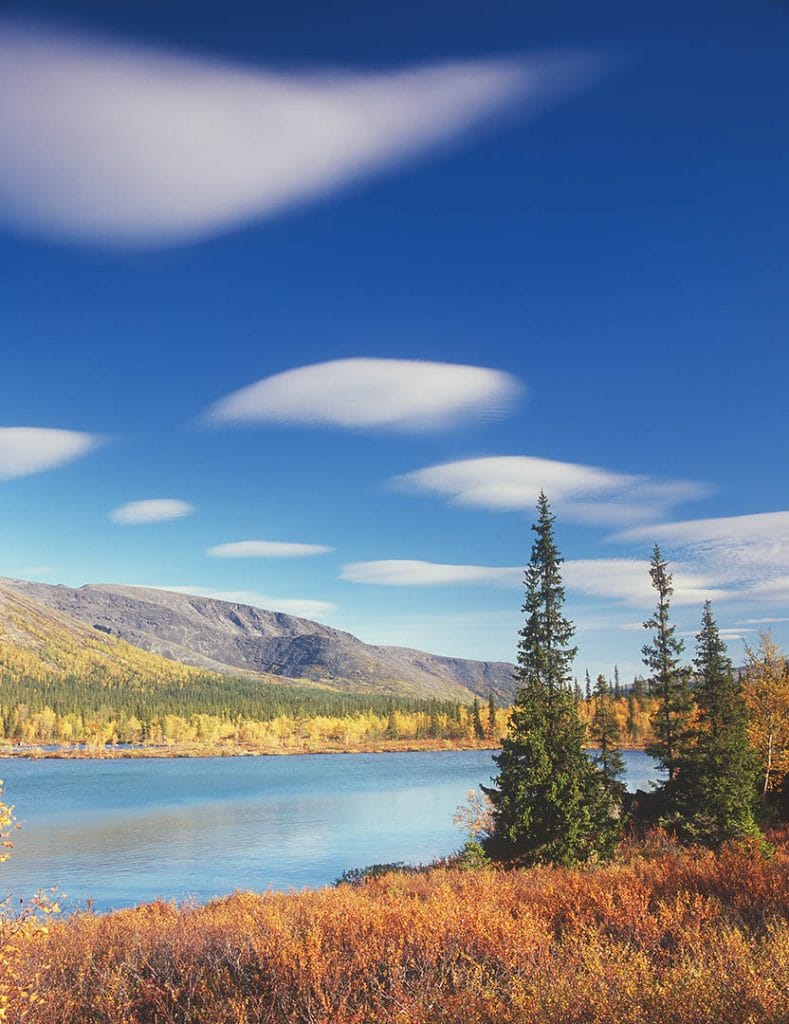
There can also be beautiful clouds in the sky during the daytime. There are usually no clouds in the sky during the summer afternoon. Try to include the sky and add clouds in your picture!
Shoot sunrise and sunset
I like to shoot in the afternoon when the brightness of the sun is reduced, the shadows are extended and bright contrast areas are created.
It turns out that the main subject is illuminated by the sun, the rest goes into darkness. The picture is three-dimensional, creating a presence effect. The image becomes three-dimensional.
Autumn Photography Tips
Don't forget the main subject
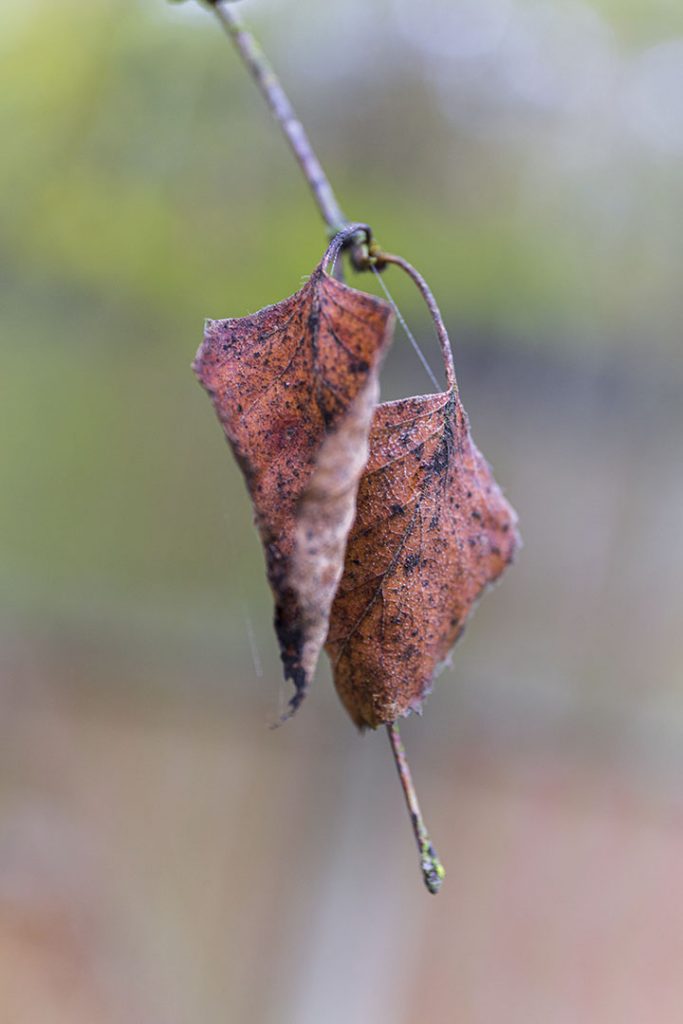
Isolate main subjects by shooting with a telephoto lens at a large focal length (85-100 mm or more) with an open aperture. Preferably it should be homogenous, then attention will not be distracted from the main subject. It is important for the viewer who will look at your photograph to be able to instantly determine where the main object is on it. So there must be no unnecessary details on the side.
Get Down
Many people are used to shooting straight from the level of their eyes, rarely moving the camera from this position. And in vain, because from other angles you can get completely extraordinary results, which will look much better. Try almost putting the camera on the ground level and filming the leaves. Use a wide aperture and focus in the middle of the scene. I prefer a blurred foreground and background. This way the volume is transmitted better.
Read more about Aperture in Landscape Photography here
Shoot from a high point
This is especially true for mountainous and hilly terrain. Trees at different heights or colored tree crowns that can be removed from height look great.
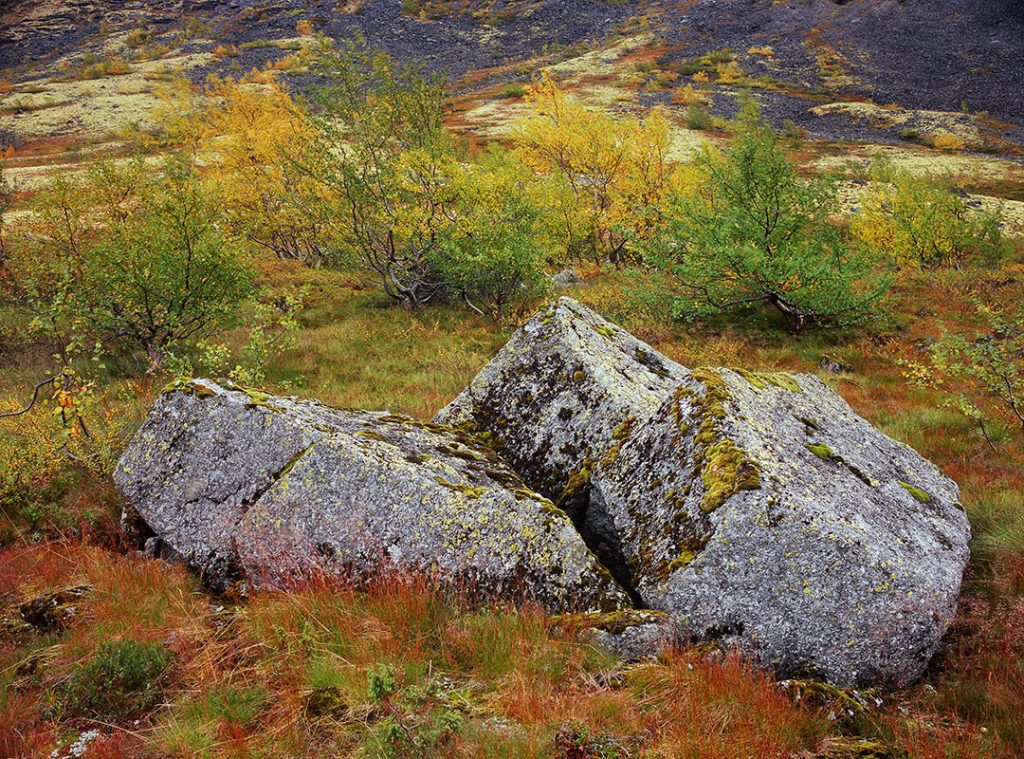
Look for contrasts
Contrast often looks good, pleasing to the eye.
It’s great if you have an interesting subject in the field of your attention, illuminated by the sun’s rays, and a shadow around it. It is a situation similar to the one described above with bright contrast areas.
If you shoot an item on the ground, you don’t have to blur the background to make it stand out, you can take a photo from above.
Try shooting in backlighting
There is a common misconception that the sun should be behind the photographer’s back and fall on the subject.
This is not dogma.
If you thought so, you can and should move away from it, getting great results.
In general, shooting nature in backlighting is one of my favorite techniques that I can safely recommend. Just try it – once you get an amazing result, you won’t be able to abandon this technique or forget about it anymore!
The sun is an important element here. You can include it in the frame or not. I prefer not to include it, only capturing the atmosphere that results from the way the sun’s rays lie on the object.
Just try to look at the foliage in a counter light, for example.
Move so that the angle of the sun’s fall on its changes. A characteristic feature of shooting in counter light is the reduced contrast and high brightness of the scene.
By the way, this is also how you take pictures in a high key. So the combination of low contrast and high brightness creates a feeling of joy in the frame, a relaxed bliss.
Use this to convey the right mood. Move-in in front of the subject in a counter light to find the optimum contrast.
If you have a hood, use it. If you move the camera strongly, you may lose your mood, the scene will become high-contrast. Observe and try to find the perfect balance – you will succeed!
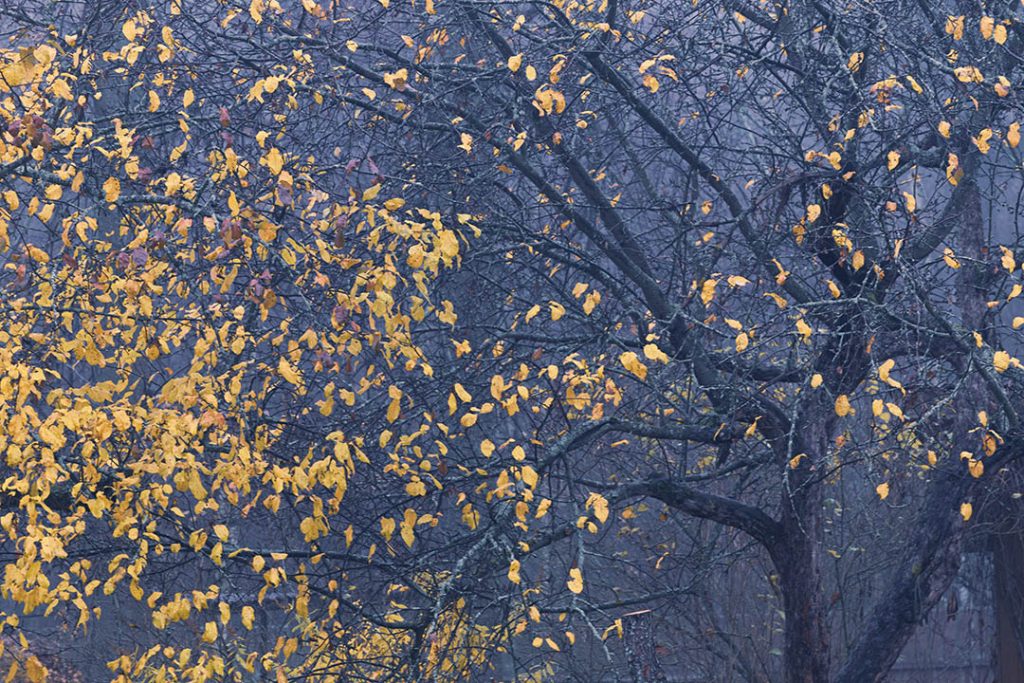
Look up
A lot of interesting things await you in autumn at the top during the Golden Autumn when the leaves are still at the top. Even if the sky is strewn with clouds, the diffuse light can be enough to highlight the beauty of the bright leaves. Bright autumn colors will contrast perfectly with the grey sky.
Correct shutter speed
Shoot with large areas of light sky and much darker objects set the Shooter Speed across the sky or slightly lighter. Shadows can then be pulled out when editing, and the sky is initially well designed. Alternatively, you can use HDR.
Read more about Shutter Speed here
Frame within the frame
Use branches, foliage, and tree trunks to frame autumn landscapes in the first place.
Use a wide-angle lens
If you are looking at a wide-open location with foliage or large tree crowns, try shooting with a wide-angle lens when you get close to the object or one of the objects. This will form a beautiful foreground and the subjects in the background will set the scale.
Shoot Autumn in RAW
Excess point. But suddenly there are still those who neglect it.
Apart from a lot of useful functions, you will need to adjust the White Balance.
Set up the right White Balance
Perhaps you should play with White Balance settings.
Cloudy mode or 6500K will give your pictures extra ‘warmth’.
I have listed the main techniques that I use myself. A very important point – try to combine them. Always think about how the frame will look when you use this or that compositional and technical solution. And, of course, experiment, experiment! As time goes by, it will be much easier to understand what is right for this particular situation, and as you wander around the city, you start to think that “these buildings would look better if taken from a low point upwards”.
Read more about White Balance here
Which equipment should I take with me for Autumn Photography?
Of course, you will need a camera. The set of lenses depends on your shooting style. There is no doubt that the simplest camera with a standard lens will do. But you will not be able to use some of the technical solutions.
Which lens is best for autumn landscape photography? Wide-angle or telephoto lenses?
Use a telephoto lens is the best tool for Autumn Photography
Take a telephoto lens first. Autumn Photography is primarily about details.
The reason for this is that there are many small subjects you want to bring closer in autumn; it is easier to blur the background with a telephoto lens. Think about it, if you prefer to shoot close-ups, the telephoto lens is your choice. If you like beautiful open spaces or urban architecture, look towards wide-angle lenses.
Use wide-angle lens
A 24-70mm or 16-35mm lens is the best solution if you have a limited budget or do not want to be overweight.
For a long time, I couldn’t get used to a wide-angle lens, but I have over time. Again, a telephoto lens may be indispensable in the autumn.
As for lenses with fixed focal lengths, I think they are superfluous at first. Except to get the skills to build the right composition and “foot zoom”.
Do not buy an expensive 50mm lens. Try to use it only during the day. You will be surprised at how many interesting photos you will take.
You need a tripod
The next thing we will need is a tripod. When you take pictures of sunsets, sunrises, and evening/night scenes, you won’t be able to take hand-held photos – the shutter speed will be too long if the exposure is correct.
Important! When shooting from a tripod, remember to turn off the Vibration Reduction (VR) function on the lens, otherwise, the frames will be guaranteed to be spoiled.
An inexpensive tripod will do for you if you are not shooting in windy weather. Also, when shooting from a tripod at long focal lengths, there may be a time lag effect to dampen vibrations. The photo will turn out to be blurred. Use the remote release.
Lens hood
If you prefer to shoot in the backlight, try using a hood. It is not necessary, I do not use it, and there is no problem with that. But if you take photos almost 180 degrees to the sun, there can be glare and rays.
I don’t have any personal experience of solving this problem, and the hood partially solves this problem through small experiments. The second solution is to choose a lens with a higher class. This solution is excellent, but expensive for many. As for inexpensive lenses, all you have to do is not directly shoot the Sun, process the picture a bit, and the result is good.
Use a Polarizer
You may also need a Polarizer. It shows itself particularly well when taking pictures of water, presenting it as transparent. Colors become richer and brighter, and there is less haze. It is good for many autumn scenes.
So you can and must experiment, but taking pictures of the Polarizer is not an obligatory attribute.
Use Neutral Density Filters
If you shoot on shore, use Neutral Density Filters for a long exposure. Blurry water gives your photos a creative look.
The way to a good Autumn Photography
Our discussion on autumn photography is coming to an end. Thank you to those who have read through to this point.
So you are interested in this topic, at least the examples have been reviewed, which means that everything will work out!
From my experience, I can say that you shouldn’t be upset when you look at the footage after taking a picture of computers and realize that most of it do not meet expectations.
It is good.
Once again, I will list the steps that need to be taken to take a conscious approach to photography:
- Make a list of the places (on paper/electronically) that you want to shoot. It is advisable to visit them and look at pictures of these places on the internet.
- Decide on the weather. Familiarize yourself with the forecast of what will happen soon. If it does not suit you at all, postpone taking pictures. If you think that the terrain will look good in this weather, decide to take pictures.
- Choose a time for the shoot.
- Choose the equipment that will come in handy, prepare it. Make sure it is in good condition, there are empty memory cards and the batteries are charged.
- Prepare the clothes. Especially if you go to shoot sunrises/sunsets, experiment with night-time shooting, warm clothes will not be superfluous.
- Come to the place. If it is a question of sunrises/sunsets, it is best to arrive in advance (20-40 minutes before the scheduled time) to have time to go around the area and map out the objects and points of shooting.
- Think about which compositional solutions would be best suited to reveal the shot.
- Take test shots, review the material on the camera, and make corrections if necessary.
- If you like the terrain and you feel like taking a picture, take it without thinking. Just come up with an analysis. Take a look at how you can best convey what you see.
- Don’t forget the post-processing. In order to save time, I’ve made a set of presses for myself. The presets don’t fit every photo, but they really help me quickly sort through my shots and choose the best image.
Conclusion
And most importantly, take more pictures, experiment more often. Then you can do it! Have a nice trip on your way to the autumn photographs that delight you and those around you!
Thanks you for informative article. Autumn my favorite season, I’m preparing for 1 day trip and it’s was on times 📚 this .
Thank you for your comment.